I am super obsessed with Coffee these days. I drink a couple of big glasses of iced coffee a day. So with my coffee obsession came a new obsession. Wanting to learn to make it! You will come to find out that I have a very strong "I can do/make that" kind of attitude. It pushes me to try new things all the time and I love the challenge! So today we are going to be making:
 Starbucks Iced Coffee
*Have you ever googled "iced coffee"? You'd be surprised at how many people take pictures of their coffee, but I must say it is a proud moment when you master your perfect cup! ;)**NOTE: I put tons of smileys in this tutorial because I really do smile a lot thinking about this coffee. It's
THAT good! =))

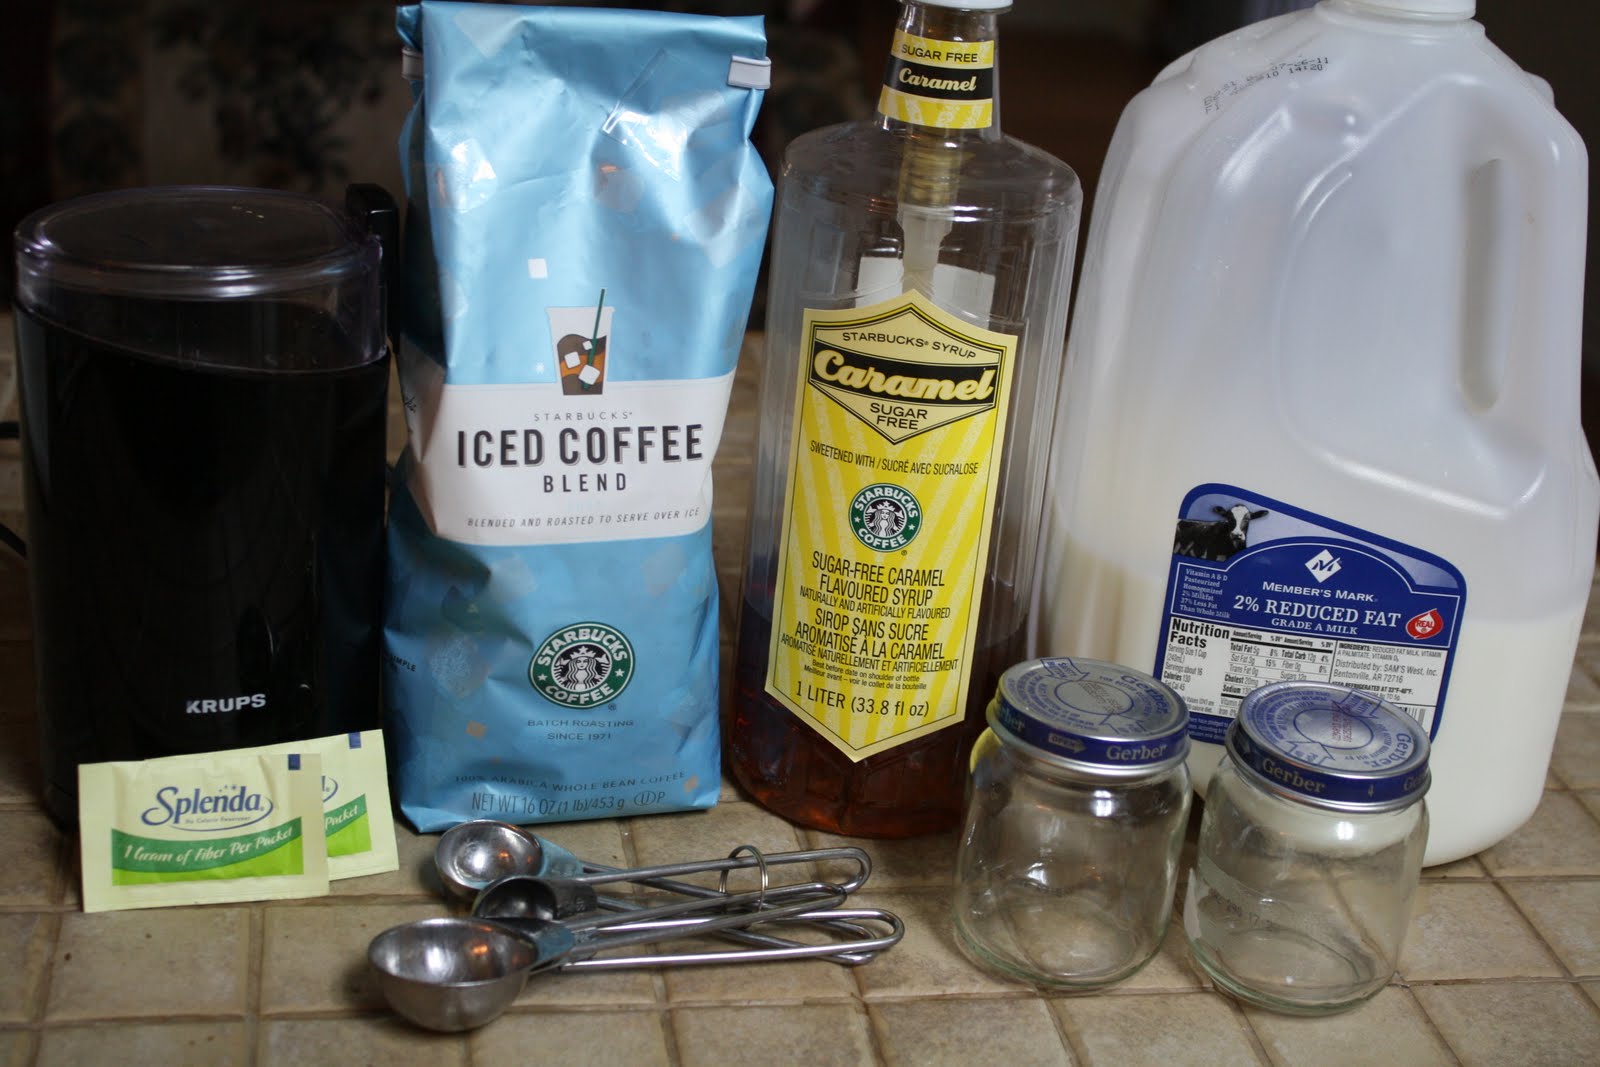
You will need:
Starbucks Iced Coffee Blend
Starbucks
Sugar Free Caramel Syrup
Water (but of course)
Splenda
Non Fat Milk
Coffee Grinder
Table spoon
Baby Food Jars (optional)
Oh yeah and
IICCCEEEEOkay so I am sure a lot of you are thinking "How the hell do I get Starbucks Sugar Free Caramel?" Cause trust me that's what I thought for a very long time. I googled "Sugar Free Caramel" and could
ONLY find it on www.Starbucks.com.
BUT if you are a regular at Starbucks and have an awesome Store Manager at your local SB like I do... Ask them to sell you a bottle! The SM actually told me he would order my bottles so that I could just buy it at the store instead of paying for shipping and waiting. So don't be afraid to ask, if they aren't sure if they can then go ahead and get it online, but make sure you ask a SM or Supervisor.
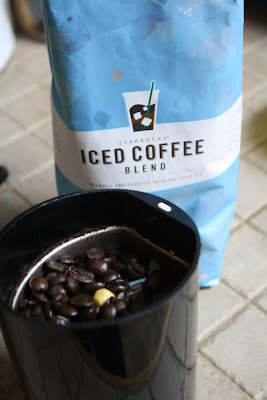
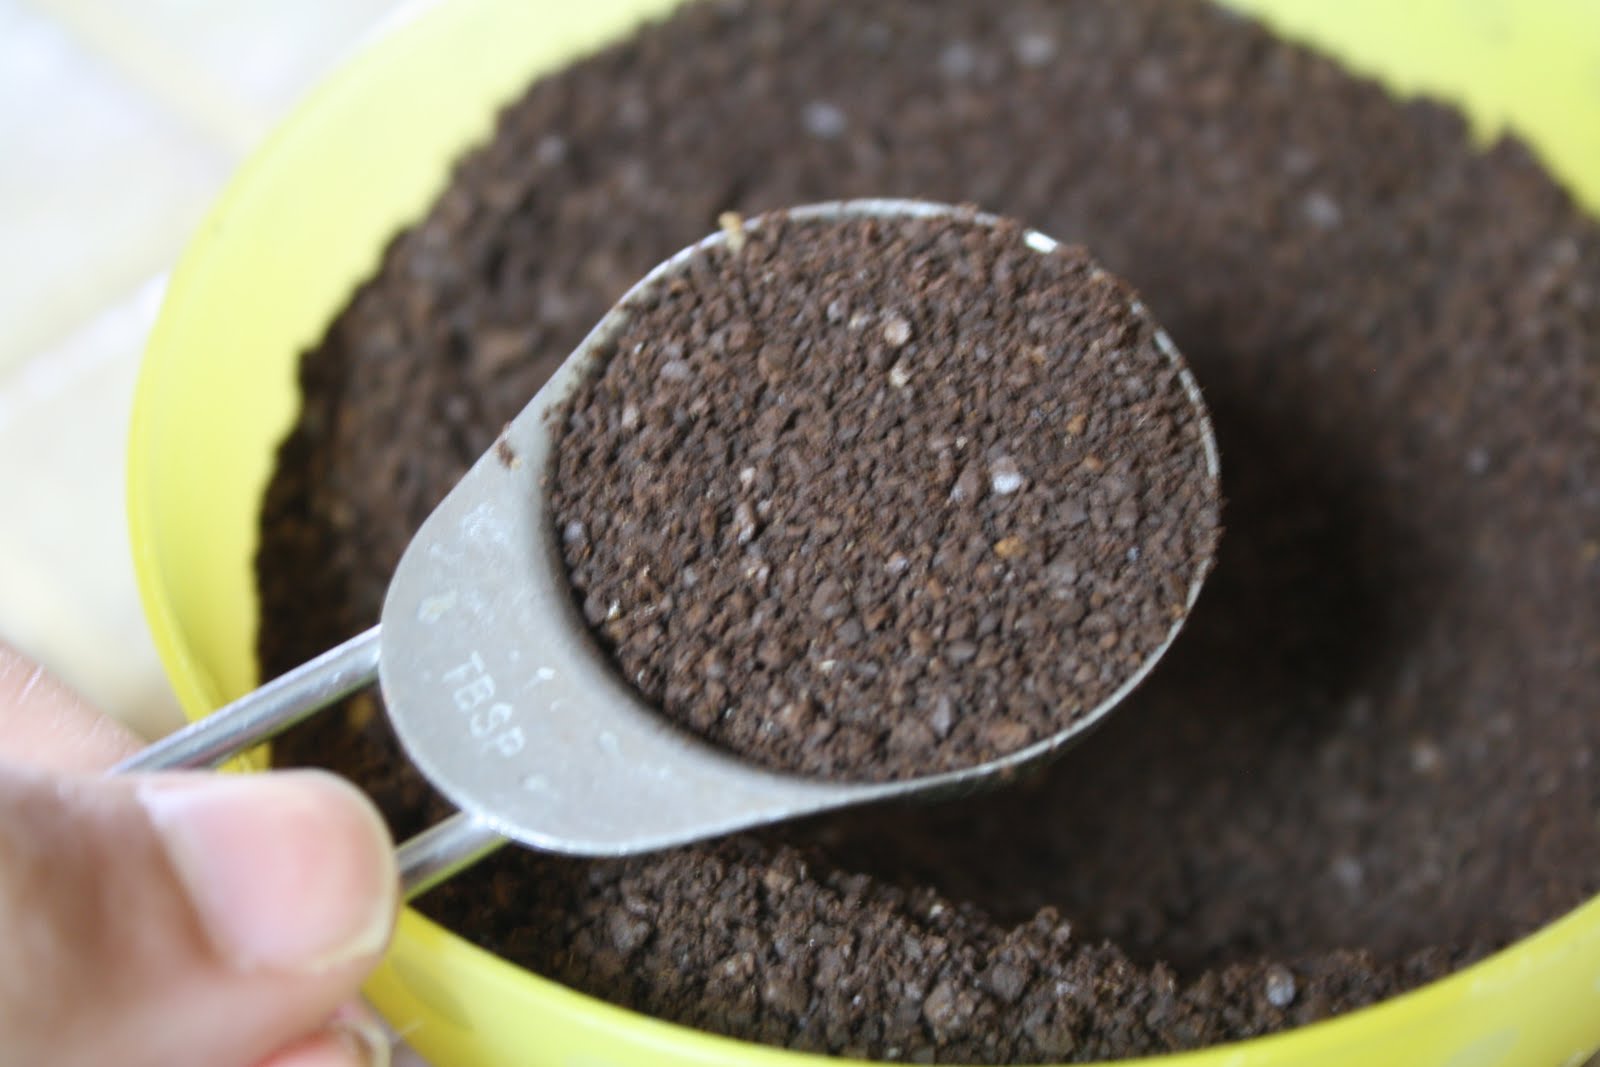
Grind up quite a bit of your Starbucks Iced Coffee Blend coffee.
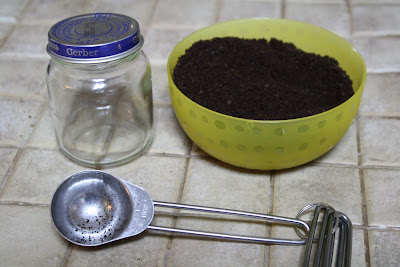
After I grind it I usually put it in a little bowl to make it a little easier (See my baby food jar, this is why you will need them!) >>Excited Face! :0)

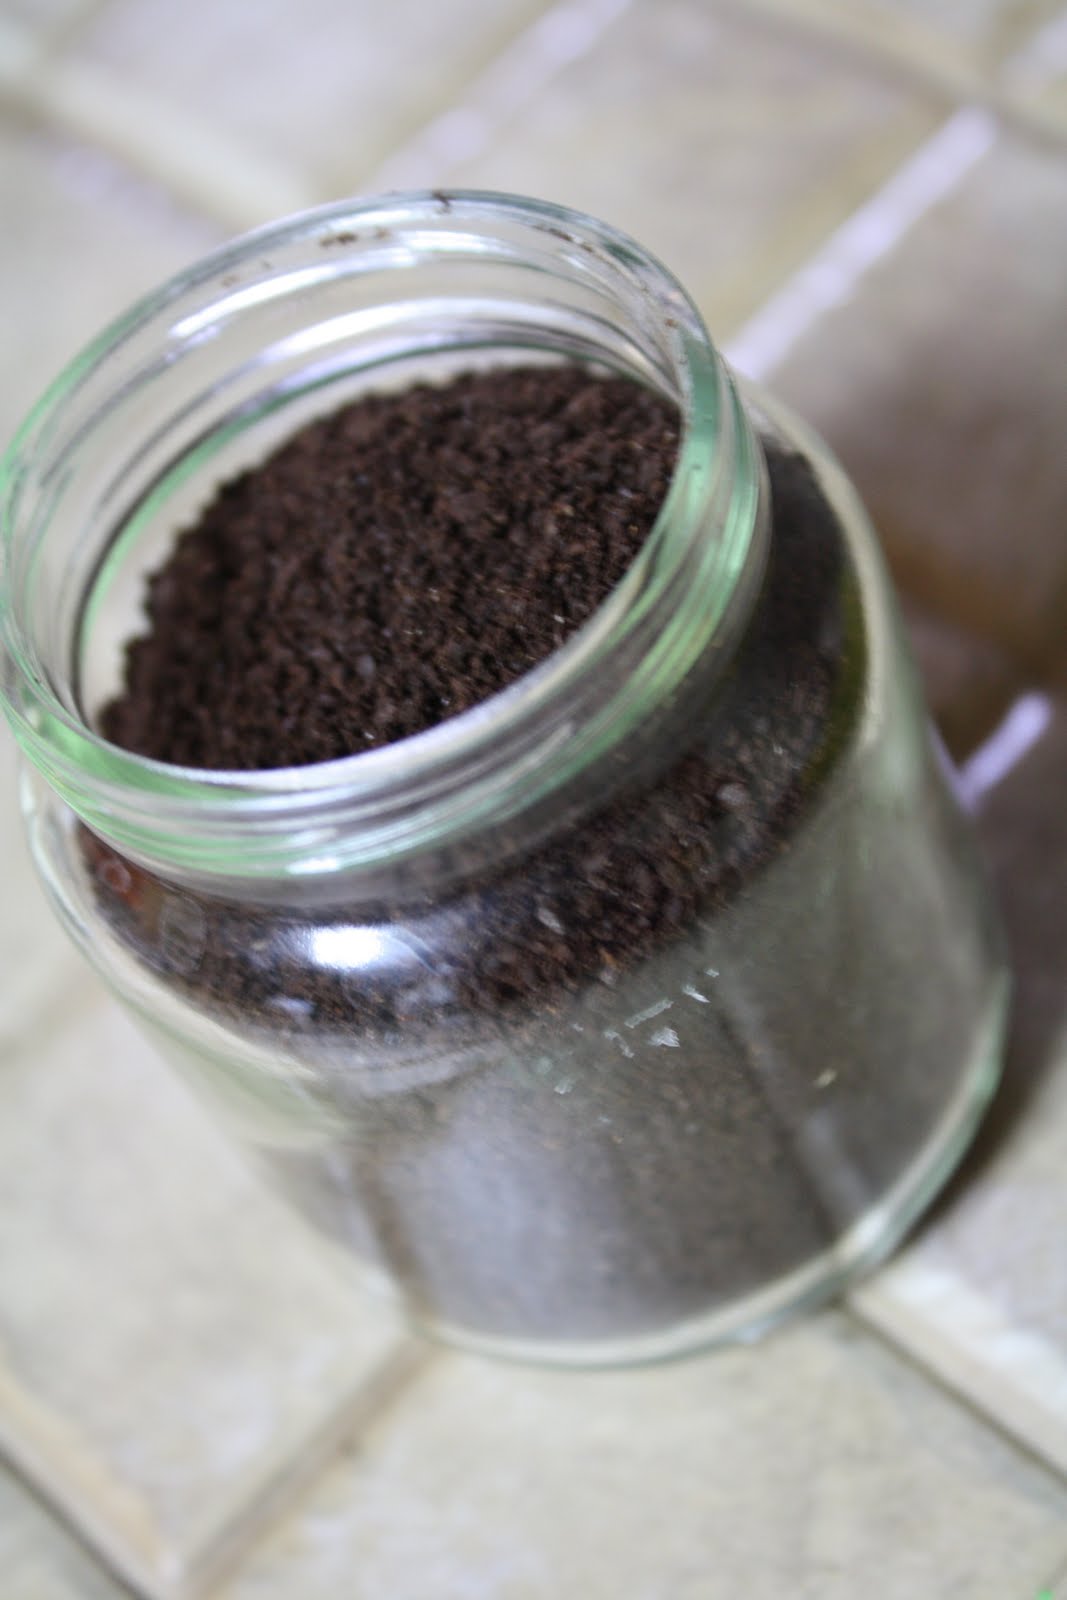
Put 8 tablespoons of coffee into your baby food jar

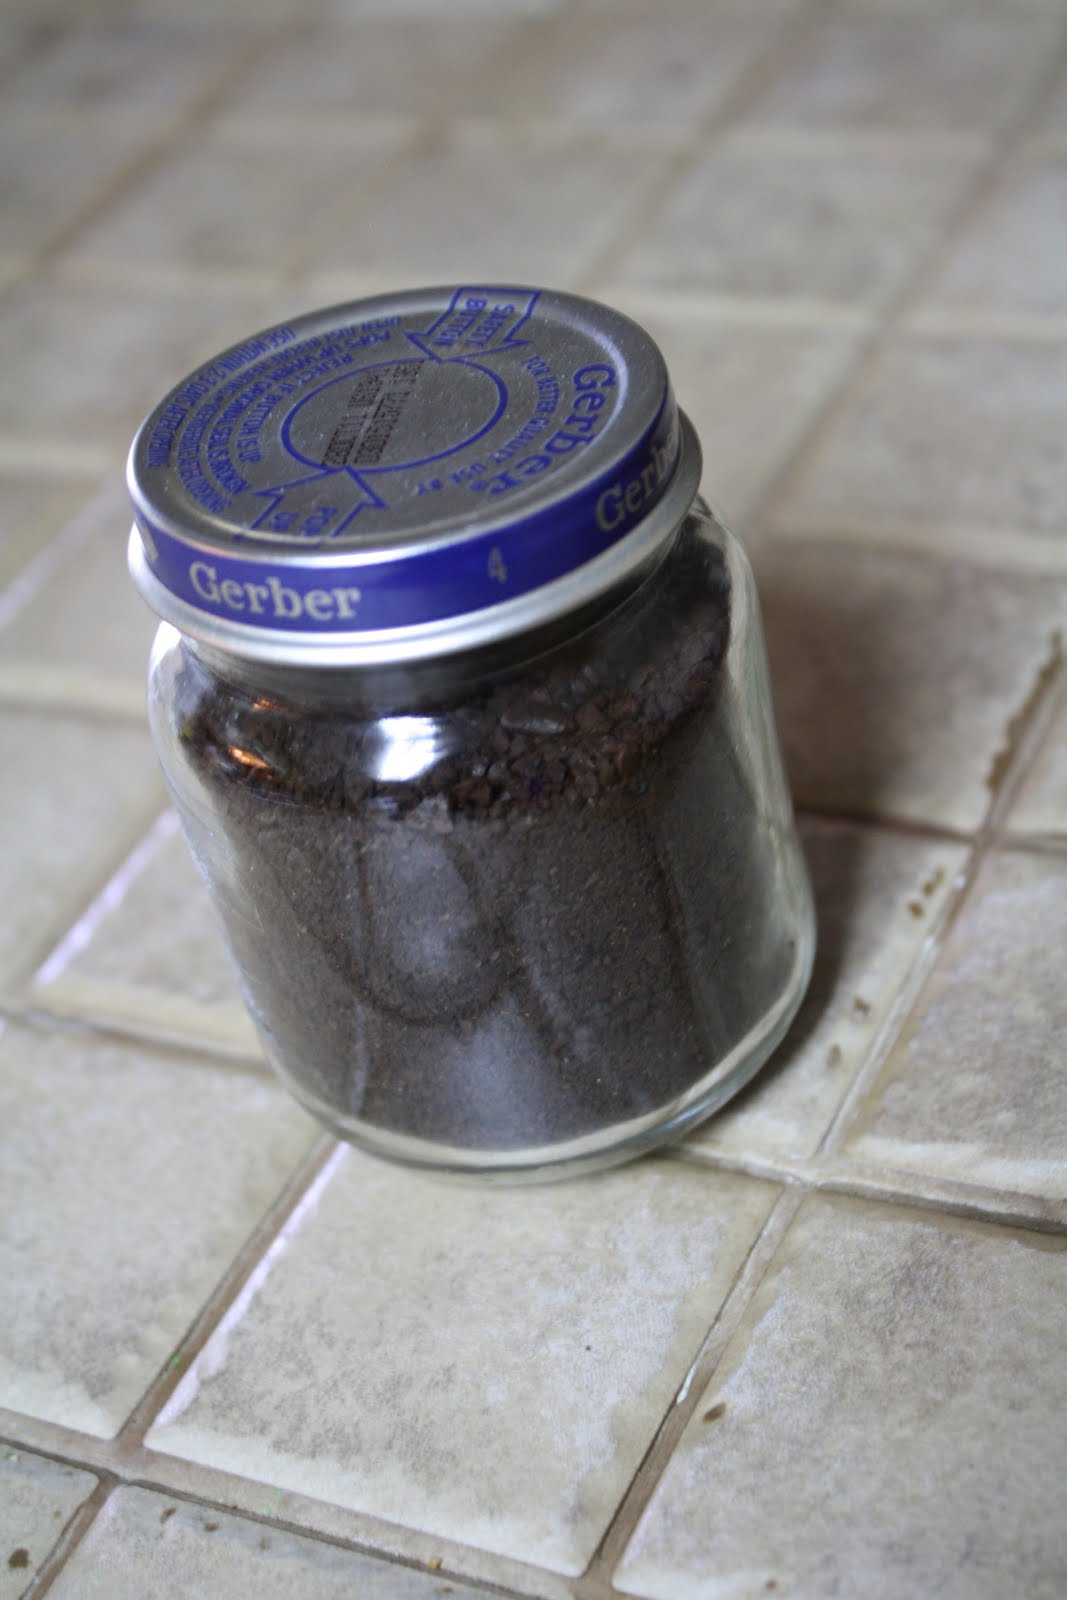
Then close it up. I make lots of coffee because I usually make a couple of these so I don't have to do it every time I want to make fresh coffee

Just seeing these makes me smile :)

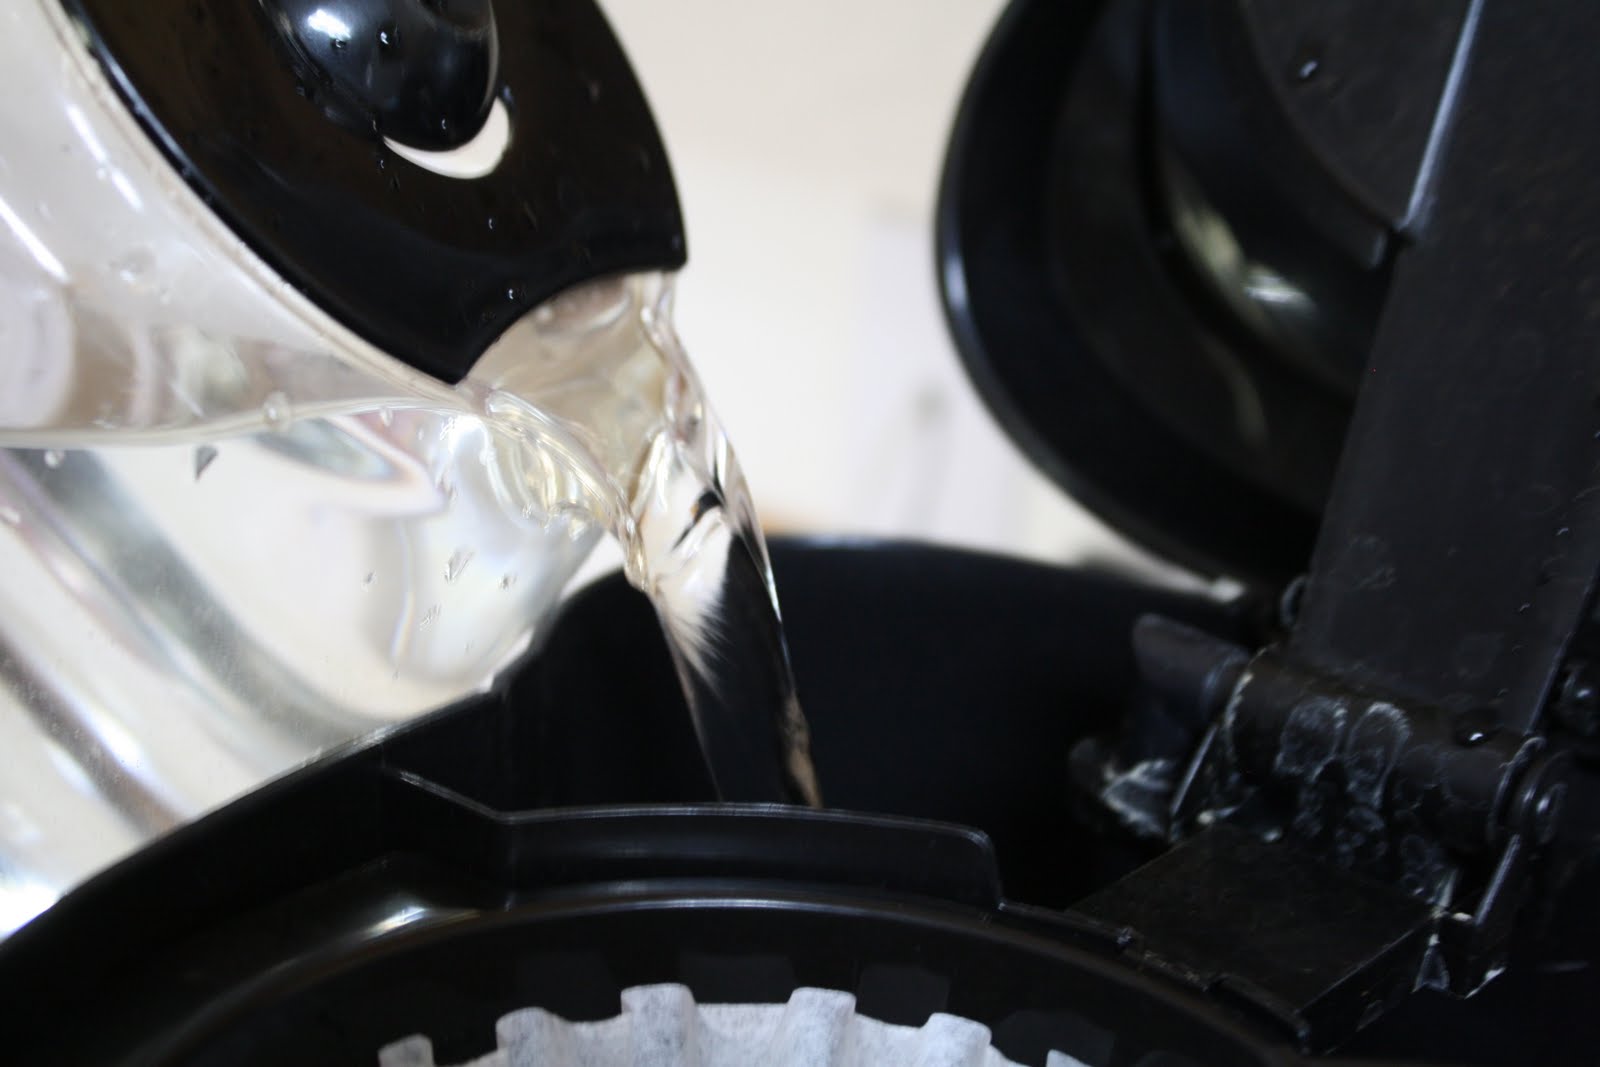
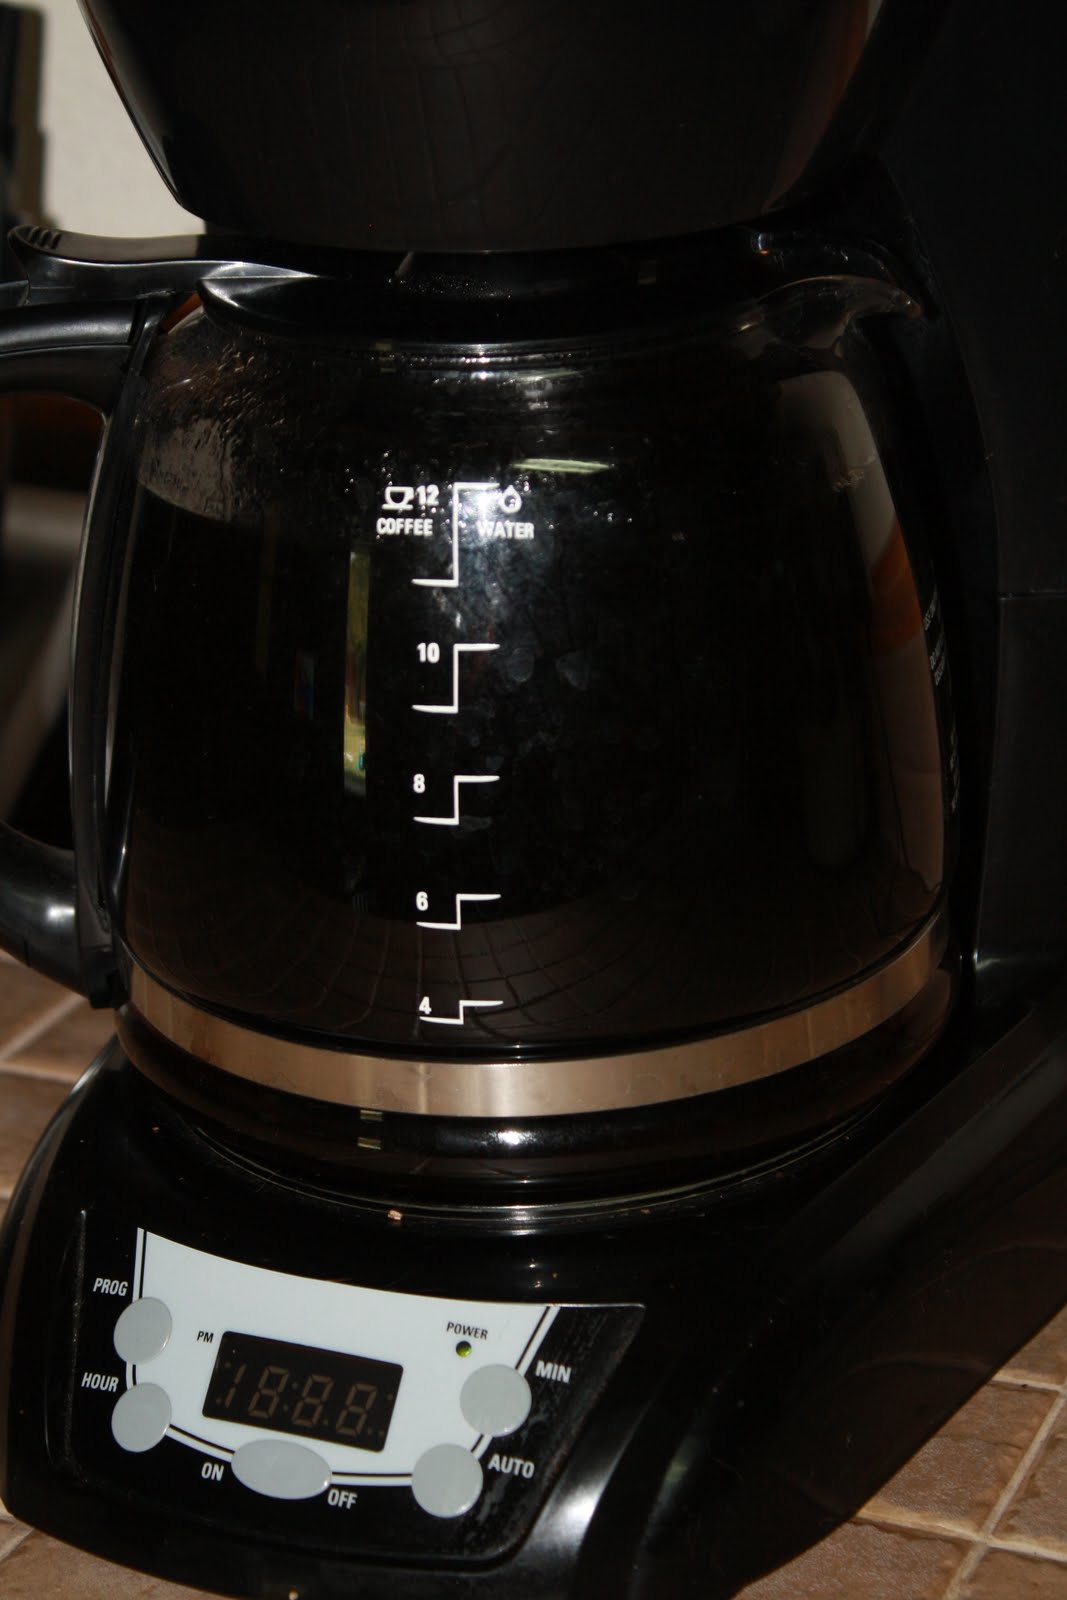
Making Iced Coffee is a little different then regular coffee because you only make with half the water you normally would because you are going to fill the rest with ice.
Example:
To make 12 cups you only fill the pitcher to the 6 cup mark and use 4 table spoons coffee. Then after is is brewed you fill the remainder 6 cups with ice.
Get it?...
Well if not just keep reading =)

So, since I drink a lot of coffee I filled my pot with 12 cups of water which makes about 24 cups you could "say" but I drink it so fast it really doesn't feel like it...

Then I use one baby food jar per batch of coffee

(Excuse my Hello Kitty Band aid, I cut my self making fruit salad)

Mmmm, I can smell it, can you?

Coffee very dark & very much done!
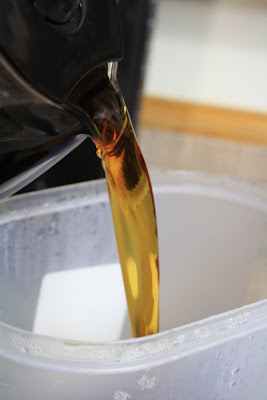
=))

Pour your coffee into a big pitcher

Then take your pot and fill it up with ice. Now remember if you are only making 12 cups then you only make 6 cups of coffee so you will only need to fill your pot with 6 cups of ice.

I would recommend making this a day before so that it is nice and cold for you the next morning. It doesn't take as good when it's warm.
REMEMBER: Place ice in or gently and
slowly pour ice in to prevent burning yourself.

Don't laugh at me, but I keep all of my Starbucks cups =) It makes it easier to measure. So for this tutorial I am using a Venti Cup.

Pump 8 pumps of sugar free caramel

Pour your iced coffee
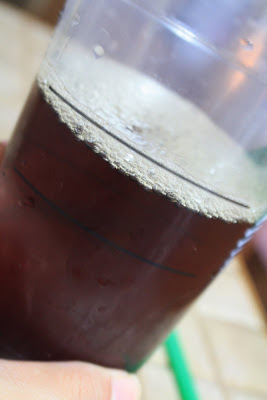
Pour it to the top line (I tilted my cup so you could see the line)

Put your 2 packets of Splenda

Then your non fat milk. This part is totally up to you on how much you want but I wouldn't put too too much.

Then fill the rest of the cup with ice and Ta-Da!!! You're done! Now I have to say this because I know from experience. The first couple of times you make it, it might not taste just like you want. I had to put more splenda or more milk the first couple of times. But after you get the hang of it you will only need to 2 splenda and you will know exactly how much milk is good for you.
Enjoy!